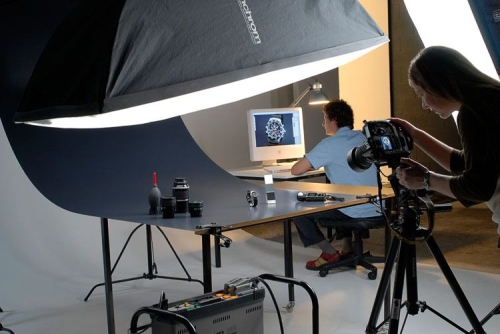
Removing blemishes from photos is a crucial aspect of photo editing that can significantly enhance the overall quality of an image. Blemishes such as acne, scars, or dust spots can detract from the subject and the intended message of a photograph. In this comprehensive guide, we will explore the tools, techniques, and best practices for effectively removing blemishes from photos. Whether you are a beginner looking to improve your editing skills or a seasoned photographer aiming for flawless results, understanding how to remove blemishes is a valuable skill that can elevate the visual impact of your photos.
Why Blemish Removal is Important
Blemish removal in photos is like using a magical eraser that helps us look our best without the need for fancy filters. It's all about enhancing the natural beauty of the image, whether it's a portrait or a product photo on a white background.
The Impact of Blemishes on Photos
Blemishes can be sneaky little distractions that steal the spotlight from the main subject of your photo. They can make a picture look less polished and take away from the overall appeal.
2. Tools and Techniques for Blemish Removal
Overview of Popular Photo Editing Software
From beginner-friendly tools like smartphone apps to advanced software, such as those specialized in cleanup pictures, there’s a wide range of options to suit every skill level and budget.
Common Tools for Blemish Removal
Tools like the good ol' spot healing brush, clone stamp, and even content-aware fill can be your best friends when it comes to zapping away blemishes and imperfections.
3. Understanding Different Types of Blemishes
Identifying Various Types of Blemishes
From pesky pimples to distracting stray hairs, knowing the different types of blemishes helps in choosing the right tool and technique for each specific issue.
Challenges Associated with Different Blemish Types
Each type of blemish comes with its own set of challenges. Some are easy fixes, while others might require a bit more finesse and patience to get rid of completely.
4. Step-by-Step Guide to Removing Blemishes
Preparing the Photo for Blemish Removal
Before diving into blemish removal, it's essential to make basic edits like adjusting brightness and contrast to ensure the best results.
Step-by-Step Process for Blemish Removal
Zoom in, pick your tool of choice, and start zapping away those imperfections. Remember, a little goes a long way, so take it easy and embrace the magic of blemish removal!
5. Tips for Achieving Natural-Looking ResultsAvoiding Over-Retouching
When it comes to removing blemishes from photos, less is often more. Avoid the temptation to go overboard with editing tools, as it can result in an unnatural and overly airbrushed look. Embrace your imperfections—they're what make you unique!
Blending Techniques for Seamless Results
To ensure your blemish removal looks seamless, experiment with blending techniques. Use tools like the clone stamp or healing brush with a light touch, and blend the edited areas with the surrounding pixels to maintain a natural appearance. Remember, subtlety is key!
6. Advanced Blemish Removal Techniques
Using Healing and Cloning Tools Effectively
Mastering the healing and cloning tools in your editing software can take your blemish removal skills to the next level. Practice using these tools to target specific areas while preserving texture and details for a flawless finish.
Frequency Separation for Advanced Blemish Removal
For more advanced blemish removal, consider exploring frequency separation techniques. This method separates texture from color, allowing you to retouch skin imperfections without altering the skin's natural texture. It's a game-changer for achieving professional-looking results.
7. Best Practices for Blemish Removal in Photo Editing
Working Non-Destructively
To maintain flexibility and preserve your original image, work non-destructively when removing blemishes. Use adjustment layers, smart filters, or editing masks to make reversible edits without altering the underlying image data.
Utilizing Layers and Masks
Harness the power of layers and masks in your editing workflow for precise blemish removal. By working on separate layers and using masks to control where your edits apply, you can fine-tune your retouching while keeping the rest of your image untouched.
8. Conclusion and Final Tips
Summary of Key Points
Remember, blemish removal is about subtly enhancing your photos, not completely altering them. Embrace your uniqueness and use editing techniques to enhance, not erase, your natural features.
Additional Resources for Blemish Removal Techniques
For those eager to dive deeper into the world of blemish removal, explore online tutorials, courses, and guides that offer advanced techniques and tips. Keep practicing and experimenting to refine your skills and achieve stunning results in your photo editing endeavors.
As you continue to practice and refine your blemish removal techniques, remember that patience and attention to detail are key to achieving natural-looking results. By mastering the tools and methods outlined in this guide, you can enhance the visual appeal of your photos while maintaining the integrity of the original image. Embrace the art of blemish removal as a powerful tool in your photo editing arsenal, and let your creativity shine through in every retouched photograph.


