There are multiple approaches for creating grayscale image in Photoshop. There's no one-size-fits-all method; rather, your choices depend on personal preference and how comfortable you are with Photoshop. Some methods could include RAW grayscale converter various adjustment layers such as Hue/Saturation or Channel Mixer adjustments and Black & White options; we personally chose to use LAB Color Mode in this tutorial as my method.
This additive technique uses the Luminance Channel within LAB Color Mode and works well. We particularly enjoy using this approach due to its flexibility.
Adjustments made using Blending Mode will be non-destructive to your original photo, which is always the preferred approach when making changes or adjustments to photographs; utilising its graceful technology, this combines overlying pixels gracefully for richer color effects. This method differs from others because it utilizes various color spaces (from RGB through Lab Color and Grayscale) in order to capture an image's luminosity, or lightness, while inverting this process for dark images and isolating those treatments on new layers before finally merging it in with existing ones.
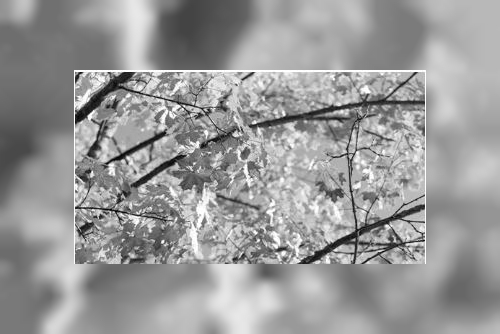
With this process, we can use the natural lighting contained within an image to achieve more realistic results, as it captures subtle light-to-dark transitional tones that keep photo grayscale looking vibrant rather than altered and flat.
Start Here
The first step in setting up Lab Color mode is changing your color space to Lab (Lightness or luminosity) plus A and B Axis which represents opposing channels of red-green and yellow-blue hues respectively. Click Image > Mode > Lab Color to make these adjustments.Under the Channels panel, select Lightness as your Lightness channel; your image will now appear as grayscale.
Convert color image to black and white into grayscale mode using Image > Mode > Grayscale
Hold down the Command key while clicking once on the channel thumbnail to load a grayscale channel selection as a selection. [Optional: you can modify its color for tinted effects].
Reverse the selection by clicking Select > Inverse
Convert image to grayscale file back into RGB color mode. While keeping your selection active, return to the Layers panel and click Layer > New > Layer via Copy (Command J). This will place it onto a new layer with all its content from its predecessor layer.
Apply the Multiply Blending Mode to this layer and merge it with its respective original layer.
As with all aspects of photography, when processing photos in Photoshop the primary goal should be achieving an image you are pleased with - an aesthetically pleasing story-telling image which brings great satisfaction for you as an individual. How you get there will ultimately be up to you.